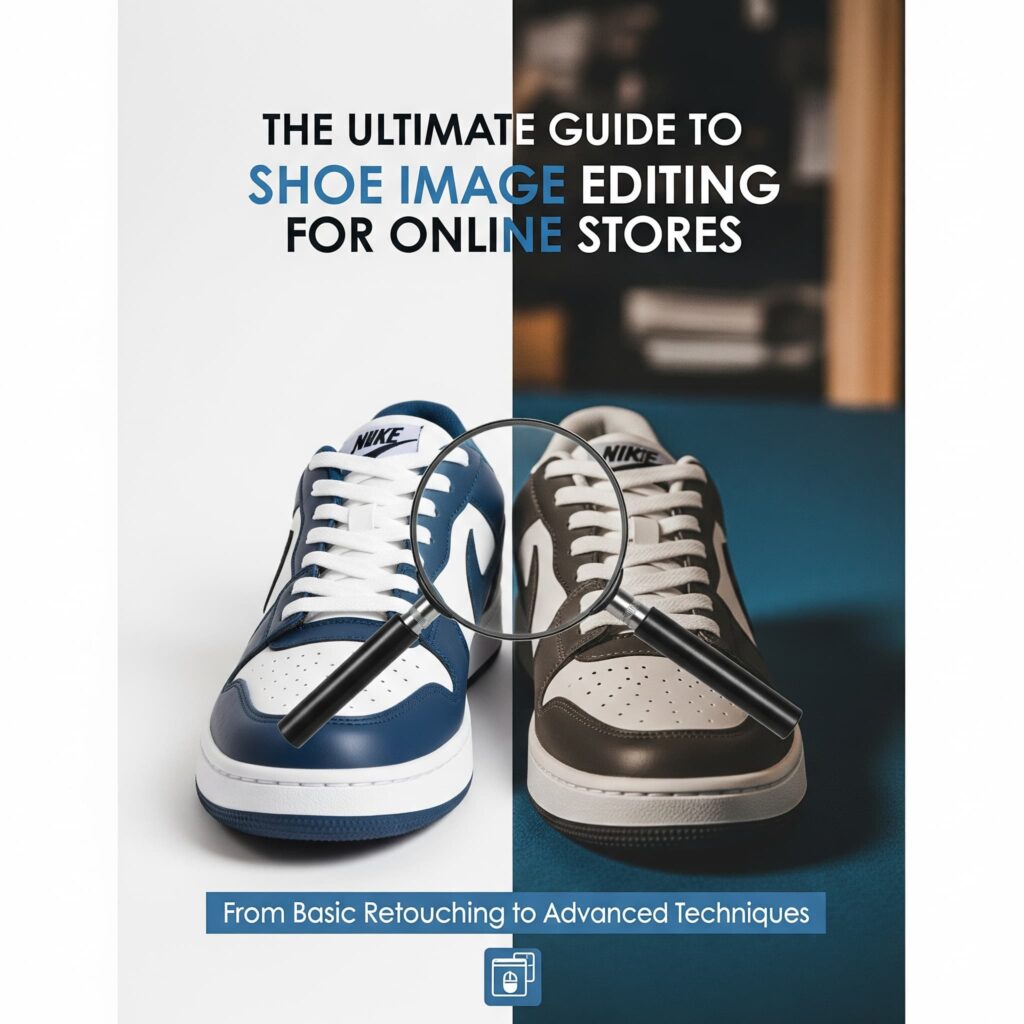
In today’s highly competitive online retail landscape, shoe stores must leverage every opportunity to showcase their products in the best possible light. High-quality images are often the key factor that influences customers’ purchase decisions. If you’re running an online store, the importance of shoe image editing cannot be overstated.
In this ultimate guide, we’ll take you through everything you need to know about optimizing shoe images for e-commerce.
Why Are High-Quality Shoe Images Crucial for Online Stores?
The first thing consumers notice when browsing an online store is the product images. In fact, more than 75% of consumers view product images as the key factor in their purchase decisions. For online shoe stores, presenting shoes in the best light can make a world of difference.
Before diving into the specifics, let’s understand why footwear photo editing is critical for online stores:
- Visual Appeal: Customers can’t touch or try shoes online, so images are their only means of assessing the product. Sharp, vibrant, and professionally edited images convey a sense of quality and trustworthiness.
- Consistency: For a seamless shopping experience, it’s essential to have consistent and uniform images. Whether it’s the background, lighting, or color correction, uniformity across all images enhances your brand’s professionalism.
- Highlighting Features: Through product editing, you can emphasize key features like texture, color, shape, and design details that might be overlooked in the original photo.
- Increased Conversion Rates: Studies show that high-quality, well-edited images result in better customer engagement, increased trust, and higher conversion rates.
Preparation – Get the Right Image
Before you start photo editing, it’s essential to have a high-quality base image. Here are some preparation tips:
- Lighting: Make sure the shoes are well-lit, with minimal shadows. Natural lighting or a lightbox is ideal for product photography.
- Background: A simple, neutral background (typically white or gray) keeps the focus on the shoes and maintains consistency in all product photos.
- Angles: Take multiple shots from different angles—top, side, and heel views are essential for shoes. If possible, include close-up shots of unique design features or textures.
- Resolution: High-resolution images are essential for zoom features on your website, which help customers see product details clearly.
Key Elements of Shoe Image Editing for Online Stores
When it comes to shoe image editing, several key elements come into play. Each plays a crucial role in ensuring your shoes look appealing and professional:
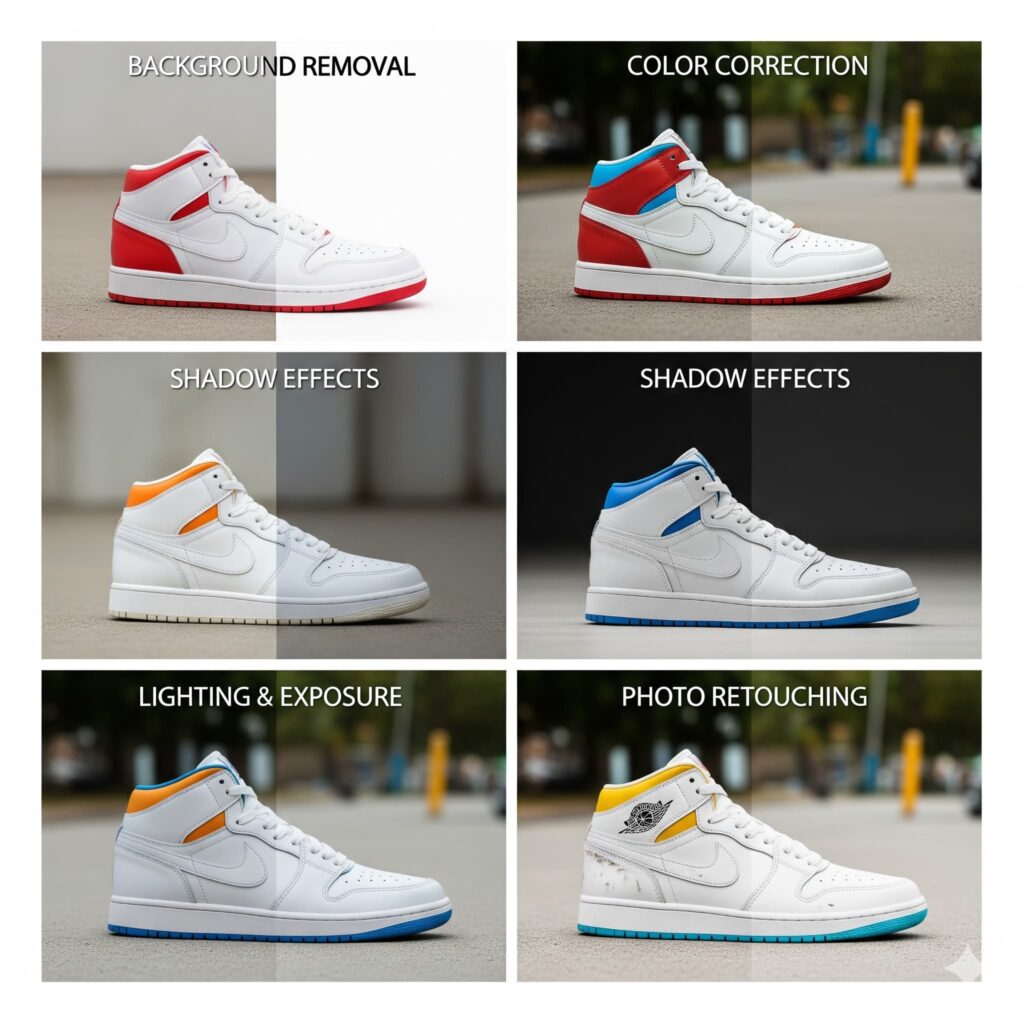
- Background Removal: A clean, white background helps focus the attention entirely on the shoes. It also provides a professional look and is more consistent across different platforms, such as your website and social media.
- Color Correction: Lighting conditions during photography can occasionally cause the colors to look different. Editing the image to match the true color of the shoes will ensure your customers know exactly what they are purchasing.
- Shadow Effects: Shadows help give depth and realism to images. Adding subtle shadows or reflections can make your shoes look like they are naturally placed in the environment, which can increase trust.
- Lighting and Exposure Adjustment: Proper lighting is essential for highlighting the shoes’ best features. By adjusting the exposure, you can ensure that the details and texture of the shoes are visible, making the product more enticing.
- Cropping and Resizing: Resize your images to fit perfectly on your website and across all platforms. Too large, and it may slow down your site’s loading speed. Too small, and it may look unprofessional.
- Photo Retouching: Retouching is key in footwear photo editing, ensuring the shoes look flawless by removing imperfections like dust, scratches, or stains. It also enhances details like sharpening stitching, brightening soles, and refining logos. Subtle retouching creates a polished, high-quality image that highlights every aspect of the shoe.

Advanced Photo Editing Techniques
To really make your images pop and stand out, you can explore more advanced image editing techniques:
- Removing Imperfections: If there are any blemishes, dust, or marks on the shoes, use the healing brush or clone tool to remove them. This ensures your product looks pristine.
- Focus on Details: Zoom into specific features like stitching, soles, or logos, and adjust the exposure and sharpness to make these details stand out. This can be crucial for shoes with intricate designs.
- Color Enhancement: If your shoes come in multiple colors, ensure that each variation is accurately represented. You can use selective color correction to make sure each variant looks true to life, especially if your shoes have vibrant or subtle hues.
- Adding Mockups or Lifestyle Shots: While clean product images are essential, adding lifestyle mockups (such as a person wearing the shoes) can help customers visualize how the shoes will look in real life. Consider using mockups or lifestyle photos for more emotional appeal.
Essential Tools and Software for Shoe Image Editing
Several photo editing software or tools can help you get the best results when editing your shoe images. Here are some of the most popular options:
- Adobe Photoshop: The gold standard in photo editing software, offering powerful features for professionals. It’s perfect for background removal, color correction, and adding shadows.
- Lightroom: Another Adobe tool, Lightroom is excellent for color correction and lighting adjustments.
- GIMP: A free, open-source alternative to Photoshop that has a wide range of features for basic image editing.
- Canva: A user-friendly tool with templates for image resizing and background removal. It’s great for beginners.
AI-driven editing tools like Remove.bg and Fotor also offer automated background removal and editing, making them great for those with larger inventories who want to save time.
Step-by-Step Guide to Footwear Photo Editing

Let’s break down the basic steps of editing your shoe images to achieve a professional look.
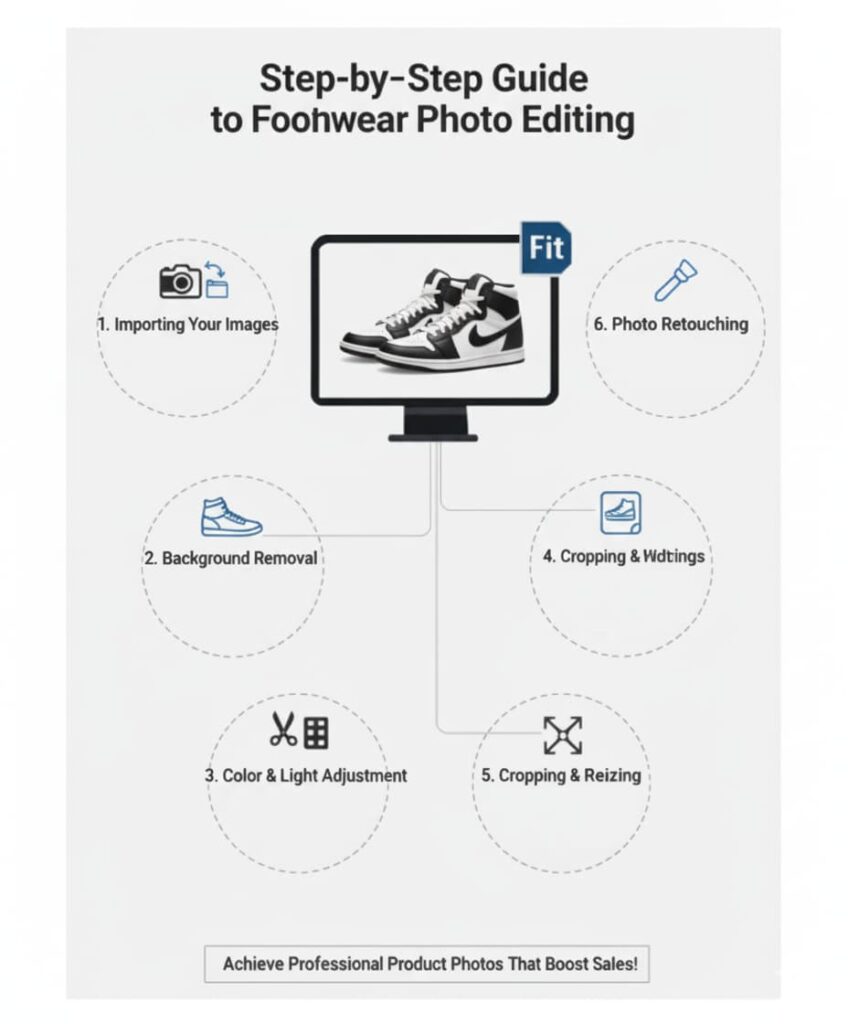
- Importing Your Images: Start by uploading your raw shoe images into your chosen editing software. Make sure they are in high resolution for the best photo editing results.
- Removing the Background: Use the background removal tool in Photoshop, GIMP, or any other software to isolate the shoes from their background. The cleaner, the better.
- Adjusting Colors and Lighting: Use color correction tools to ensure the shoes appear in their true colors. Adjust the exposure and contrast to bring out the textures and details.
- Adding Shadows and Highlights: Create a natural-looking shadow beneath the shoes or add subtle highlights to make them pop. This step adds realism to the image and makes it look more polished.
- Resizing and Cropping: Resize and crop the image to ensure the shoes are centered and fill the frame properly. Resize the image for web use, ensuring it loads quickly on your site.
By following these steps, you can ensure that your shoe images are visually appealing and optimized for both customers and search engines.
Best Practices for Consistency Across Your Online Store
Consistency is key when it comes to product images. If you’re showcasing shoes in your online store, on social media, or in marketing materials, it’s important to maintain a uniform style across all product images. Here are a few tips:
- Use the same background color or style for all shoe images.
- Stick to consistent lighting and angles.
- Ensure that each image follows the same size and cropping guidelines.
By maintaining consistency, you create a cohesive and professional look for your online store that builds trust with your customers.
Common Mistakes to Avoid in Shoe Image Editing
While editing your shoe images is crucial, it’s easy to make some common mistakes. Here are a few things to avoid:
- Over-editing: While editing is necessary, over-editing can make your shoes look unrealistic. Stick to subtle adjustments for a more natural appearance.
- Ignoring File Size: Not optimizing your image sizes can lead to slow loading times.
- Inconsistency: Make sure your images follow a consistent style across your store to avoid a disjointed, unprofessional look.
Conclusion
Effective product photo editing is an essential part of running a successful online store. By focusing on high-quality images, optimizing them for SEO, and maintaining consistency, you can enhance your store’s overall appearance and increase your chances of converting visitors into customers. With the right tools and techniques, your shoe images can become a powerful asset in driving online sales.
If you’re ready to take your shoe images to the next level, contact Photo Edit UP to get a professional e-commerce photo editing service!
FAQ
Q: What is the best resolution for shoe product images?
A: A resolution of at least 1000 x 1000 pixels is recommended for high-quality images that display well on all platforms.
Q: How often should I update product images in my store?
A: Update your product images whenever you receive new stock, change the design, or if you notice an improvement in image quality over time.
Q: Can I outsource shoe image editing, or should I do it myself?
A: If you have the time and skill, you can do it yourself, but outsourcing image editing can save time and ensure high-quality results, especially if you have a large inventory.


