
Color fixing is an important part of editing photos because it makes them look more real and appealing to the eye. You can take your photo editing skills to the next level by learning how to fix colors. This is true if you’re a shooter, a content creator, or just someone who wants to make their photos look better.
Professional color fixing is what we do at Photo Edit Up to make your pictures stand out. In this guide, we’ll cover everything you need to know about color correction, including what it is, how it works, and how you can apply it to your own photos.
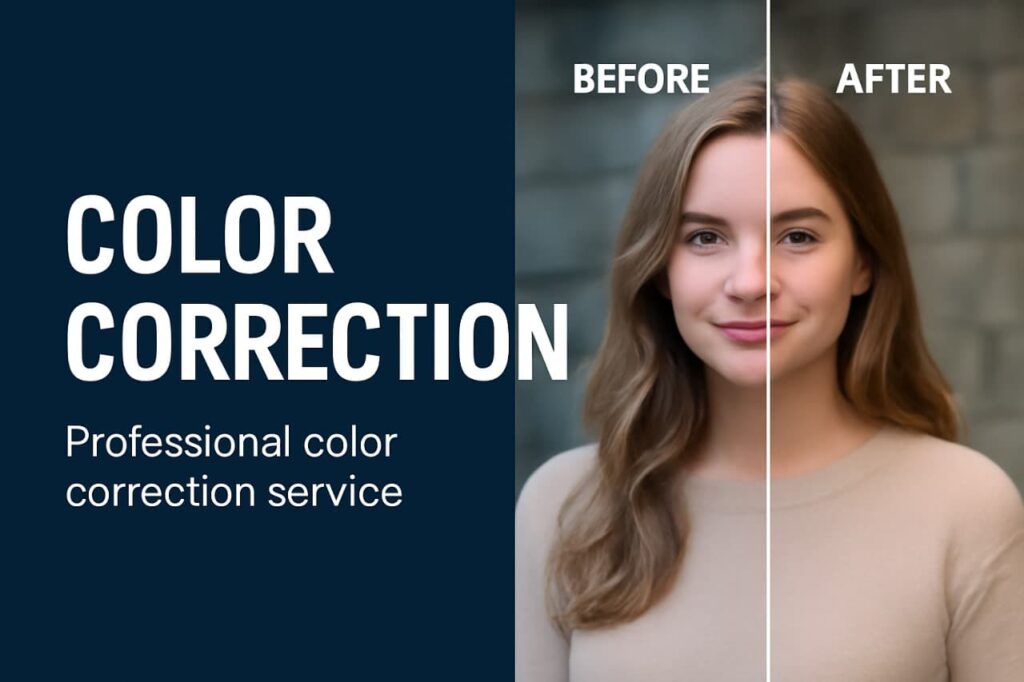
What is Color Correction?
Color correction refers to adjusting the colors in an image to make them appear natural and true to life. It involves fixing issues like color imbalances, exposure problems, and white balance issues to ensure that the image reflects what the human eye would see in real life.
In simple terms, it’s about making sure the colors in your photo are accurate, vibrant, and consistent. Whether you’re dealing with photos that have a yellowish tint from indoor lighting or correcting a sky that appears too blue, photo color correction can fix those problems.
Why is Color Correction Important?
The main goal of image editing color correction is to make photos look more realistic and balanced. But color correction also plays a significant role in:
- Improving Image Quality: A photo with proper color correction will look much clearer and more professional.
- Creating a Mood or Tone: By adjusting the colors, you can give your images a specific vibe, like making them warmer or cooler.
Consistency: If you’re working with multiple photos (like for a product shoot), color correction ensures all the images look uniform.
Common Color Issues in Photos
Before diving into the tools and techniques, let’s take a look at some of the common color issues that can occur in photos:
1. White Balance Problems
White balance refers to how colors are represented in terms of temperature (warm or cool). When the white balance is off, photos can appear too yellow, blue, or green.
- How to Fix It: You can use the white balance tool in your photo editing software to adjust the temperature and tint.
2. Exposure Issues
Too much light hitting the camera lens causes overexposure, which makes some parts of the picture look washed out. If not enough light hits the camera, the picture is underexposed and too dark.
- How to Fix It: Adjusting the exposure levels in editing software can bring out the details in both dark and bright areas.
3. Color Casts
Sometimes, photos have a color tint due to lighting conditions (e.g., a photo taken under fluorescent lights might look greenish).
- How to Fix It: Color casts can be removed by adjusting the temperature and tint using photo color correction tools.
Tools for Color Correction
To achieve the best results, you’ll need the right tools. Let’s go over some of the most popular photo editing tools for color correction:
1. Adobe Lightroom
Adobe Lightroom is one of the most popular tools for color correction. It offers an easy-to-use interface with sliders for adjusting exposure, contrast, white balance, and more.
- Best for: Photographers who want a simple yet powerful tool for adjusting colors and exposure.
2. Adobe Photoshop
Photoshop is the go-to tool for professionals. It offers advanced features like Curves and Levels, which give you precise control over color correction.
- Best for: Professionals looking for advanced tools and customization.
3. Mobile Apps
There are several mobile apps that make color correction easy on the go, such as Snapseed and VSCO. These apps allow you to adjust basic color settings and apply filters quickly.
- Best for: Users who need quick edits from their phones.
4. Online Tools
If you’re looking for a quick fix, online tools like Fotor and Pixlr can provide basic color correction without needing to download any software.
- Best for: Casual users who need simple editing features.
Our Services

We offer a variety of color correction services to make your photos look amazing. Here’s what we do:
1. Basic Photo Color Correction
We can adjust your photos to fix things like lighting issues, color imbalances, and white balance. Your photos will look more natural, with accurate and vibrant colors.
2. Professional Color Correction for Businesses
For businesses, we offer color correction that fits your brand’s style. If you need product photos for your online store, headshots for your website, or marketing images, we ensure they all look professional and consistent.
3. Image Editing Color Correction
We also offer image editing color correction for more complex fixes. If your photos have tricky lighting, wrong skin tones, or need background adjustments, we can help. This is perfect for photographers or designers who need detailed edits.
4. Custom Color Grading
In addition to fixing colors, we offer custom color grading. This lets you give your photos a unique look or mood. Whether you want a warm, cool, or vintage feel, we can help you get the exact look you want.
5. Fast Turnaround
We know that time is important. Whether you need a few quick edits or more detailed work, we promise a fast turnaround without compromising on quality.
If you need help with color correction, Photo Edit Up is here to make your photos look their best. From simple fixes to more advanced edits, we’ve got you covered!
Step-by-Step Guide to Color Correction
Step 1: Adjust White Balance
The first thing to do when color correcting an image is to adjust the white balance. This will fix any color cast and ensure that whites appear neutral.
- Use the white balance tool to adjust the temperature (cooler or warmer) and tint (green or magenta).
Step 2: Correct Exposure
Next, make sure your image isn’t too bright or too dark. Use the exposure, highlights, and shadows sliders to adjust the overall brightness and bring back details in both the light and dark areas.
Step 3: Adjust Contrast and Saturation
Enhance the colors in your image by adjusting the contrast and saturation. Be careful not to overdo it, as too much contrast can make your image look unnatural.
Step 4: Fine-Tune Colors
If specific colors need more attention (e.g., if the reds are too bright or the blues are too dull), use the HSL (Hue, Saturation, Luminance) panel to adjust individual colors.
Step 5: Sharpen and Reduce Noise
Finally, sharpen your image to bring out details and reduce noise (graininess), which can sometimes occur during color correction.
Advanced Techniques for Professional Color Correction
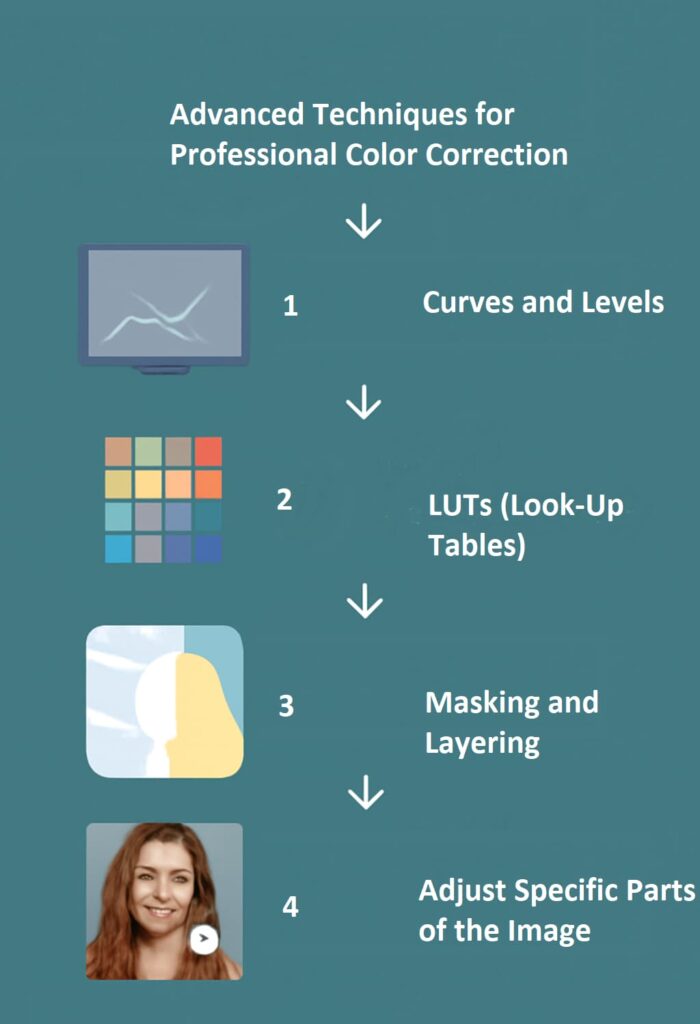
If you’re looking to take your color correction to the next level, here are a few advanced techniques:
1. Curves and Levels
Curves and levels allow you to adjust the tonal range of your image, giving you more control over shadows, midtones, and highlights.
2. LUTs (Look-Up Tables)
LUTs are predefined color adjustments used in professional video and photo editing. They can give your images a unique color grade or match colors across different shots.
3. Masking and Layering
Masking allows you to adjust specific parts of the image. For example, you can change the color of just the sky or enhance the subject’s skin tone while leaving the rest of the image untouched.
4. Adjust Specific Parts of the Image
This keeps it short and still conveys the idea of adjusting specific areas in the image.
Troubleshooting Common Color Issues
1. Banding
Banding is when you see visible lines or stripes in an image due to limited color depth.
- How to Fix It: Increase the bit depth in your editing software or use a smoother gradient to fix the banding.
2. Color Clipping
When colors are clipped, it means that details are lost in the bright or dark areas of the image.
- How to Fix It: Reduce the exposure and adjust the shadows and highlights to bring back detail.
3. Inconsistent Colors Across Devices
Your photos might look different on different screens due to varying color profiles.
- How to Fix It: Calibrate your monitor regularly to ensure consistency across devices.
Best Practices for Effective Color Correction
- Non-Destructive Editing: Always work with a copy of your image, not the original, to preserve the original file.
- Use Presets: Save your color correction settings as presets for consistency across multiple images.
- Regular Calibration: Calibrate your monitor and printer regularly to ensure accurate color representation.
Why Hire a Professional for Color Correction?
Color correction might seem simple, but it requires skill and the right tools. Here’s why hiring a professional can make a big difference:
1. Expert Knowledge
Professionals know how to spot and fix complex color problems that might be hard for beginners to see. They can correct issues like strange color tints or lighting imbalances, making your images look natural and vibrant.
2. Advanced Tools
Professionals use powerful tools like Adobe Photoshop and Lightroom. These tools give more control over colors and make adjustments that free apps or basic software can’t match. With their experience, professionals can use these tools to get the best results.
3. Saves You Time
Color correction can take time, especially if you have many photos. A professional can handle this for you, giving you more time to focus on other important tasks while making sure your images look great.
4. Consistency
If you have multiple photos that need editing, professionals can make sure the colors are consistent across all of them. This is important for a clean and polished look, especially for product photos or branding images.
5. High-Quality Results
A professional can ensure your photos look polished and refined. Whether it’s a simple fix or more detailed work, you’ll get images that meet high-quality standards and look their best.
FAQs About Color Correction
- Is color correction necessary for all photos?
- It’s especially necessary when colors are off due to poor lighting, but it can also enhance the overall look of any photo.
- What’s the difference between color correction and color grading?
- Color correction fixes color imbalances to make the image look natural, while color grading is about enhancing the image with specific colors for a creative effect.
- Why do my photos look different on different screens?
- This is due to varying color profiles. Calibrating your monitor can help maintain consistency.