
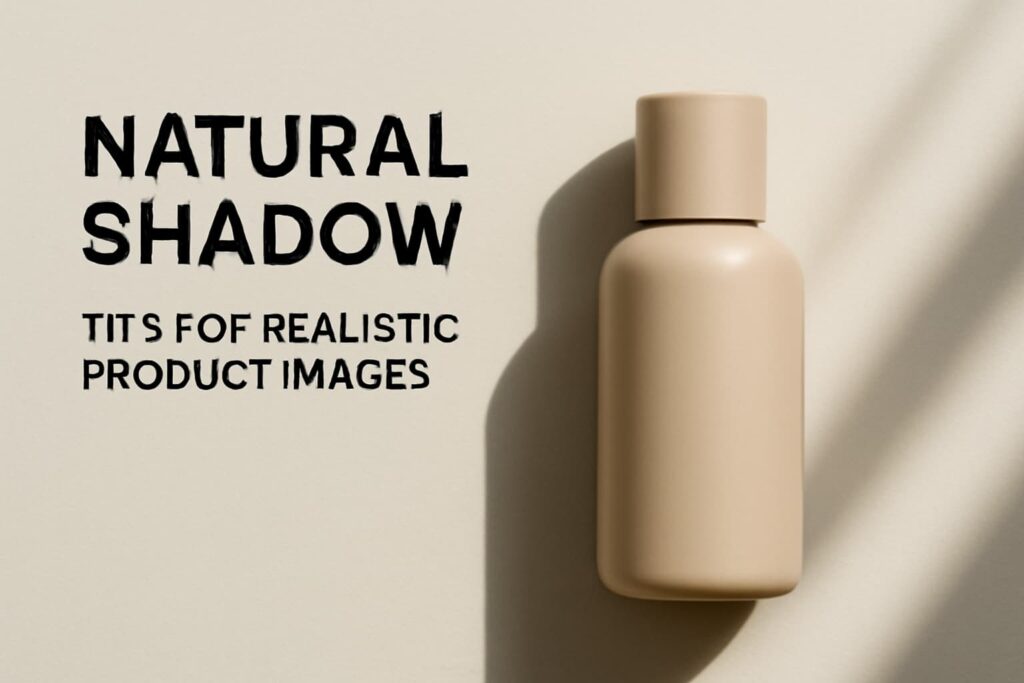
To make your product look more realistic and appealing in product photos, shadows are very important. In addition to making your product look real, natural shadows make it stand out. If you’re an online seller or a photographer, learning how to create original shadows can improve the overall quality of your product photos.
In this blog, we will study the importance of shadows in product photography and share practical tips on how to create realistic shadows in your images.
Why Natural Shadows Matter in Product Photography
Natural shadows help bring a product to life in photos. Without them, the image might look fake or artificial. It makes your product pictures look more real and natural. It’s not just the shadow that matters, but also how it fits in with the rest of the picture. A well-placed shadow can bring out a product’s best traits and make it look better.
In e-commerce, where customers can’t touch the product, shadows help them imagine how the product would look in real life. A well-placed shadow can even show off the product’s texture, like how light hits a fabric or the smoothness of a glass bottle.
How Shadows Help Your Product Look Better
Realistic shadows give customers a better idea of what the product will look like in real life. Adding shadows to your product makes it seem more real and helps people picture how it would fit into their lives.
The goal is to make shadows that don’t take away from the product but still look realistic. Well-done shadows make your photos look more professional, which can lead to more trust and sales.
Basic Shadow Types
There are two main types of shadows: soft shadows and hard shadows. Each type can give your photo a different feel.
- Soft Shadows: Soft shadows that fade away slowly. A soft lightbox or a cloudy day are common ways to make them. Images with soft shadows look very realistic and clean.
- Hard Shadows: These shadows are sharp and well-defined. They happen when the light is direct, like sunlight or a strong spotlight. Hard shadows can be dramatic, but they can also make your product look less natural if not used correctly.
The type of shadow you use in product pictures relies on the mood you want to set. Soft shadows work best for everyday pictures that are soft. If you want to make something artsy or bold, hard shadows can help add depth and drama.
How to Create Realistic Shadows for Product Photography
Making shadows look real isn’t something that just happens. It’s not just about turning on a light and clicking a photo. It involves understanding lighting, angles, and how shadows can enhance the product. Here are some simple tips for creating natural shadow effects:
1. Use Soft Light
To get a natural shadow, use a soft light source. Softboxes or diffusers work well because they spread light evenly across the product, creating soft shadows. If you don’t have these tools, you can also use natural light, like light from a window, to create softer shadows.
2. Find the Right Light Angle
The direction of the light affects how the shadows will fall. If you place the light at a 45-degree angle to your product, it will create more balanced shadows. The key is not to place the light directly in front of or behind the product, as this could result in awkward shadows. Experiment with different angles to find the one that gives the most natural look.
3. Use Natural Light When Possible
Natural light can give your photos a soft, inviting look. If you don’t have a studio setup, try shooting near a window. Natural sunlight can create beautiful shadows that are gentle and realistic. Just be careful of harsh midday sunlight, as it can create sharp shadows that may look unnatural. The best light is early in the morning or late in the afternoon (golden hour).
4. Consider the Surface
The surface your product sits on will change how the shadow looks. If you’re photographing a product on a glass table, the shadow might reflect, giving it a shiny look. If the product is placed on a textured surface, such as wood, the shadow will appear more grounded. Choose a surface that complements the product and enhances the shadow’s appearance.
5. Use Reflectors to Enhance Shadows
A reflector is a simple tool that bounces light back onto the product, filling in the shadows without removing them. Reflectors are great for enhancing the depth of the shadow, giving your image a more realistic and polished look.
6. Experiment with Shadow Angles
The angle of the light affects the appearance of the shadow. A shadow from a low angle can create a strong, dramatic effect, while a shadow from a higher angle will create a softer, subtler look. Play around with the angles to find the shadow effect that best suits your product.
7. Don’t Over-Edit the Shadows
While editing software can adjust shadows, try not to overdo it. Over-editing can make shadows look fake or too harsh. Focus on subtle changes that make the shadow more natural and believable. The goal is to enhance, not change, the shadow’s character.
Mistakes to Avoid When Creating Shadows
Even small mistakes with shadows can ruin an otherwise good photo. Here are some common mistakes to avoid:
1. Overexposing Shadows
If your shadows are too light, the image might look washed out. It’s essential to ensure the shadows are visible but not too bright. Adjust the exposure in your editing software to ensure the shadows aren’t overexposed.
2. Using Unrealistic Shadows
If the shadows don’t match the light source or the product, they’ll look fake when shooters try to add them in post-production. Make sure the shadows are in the right place and fall in a natural way. otherwise the shadows in your picture can look fake and make it look cheap.
3. Ignoring Shadow Direction
The direction of the shadow is important. If the light source and shadow are not aligned correctly, the photo will feel awkward. Always think about where the light is coming from and how it should cast shadows on the product.
Why Shadows are Key for E-Commerce Success

In online shopping, good product photos are very important. Realistic shadows help make your product look more real and trustworthy. When customers see high-quality photos with natural shadows, they are more likely to feel confident buying the product.
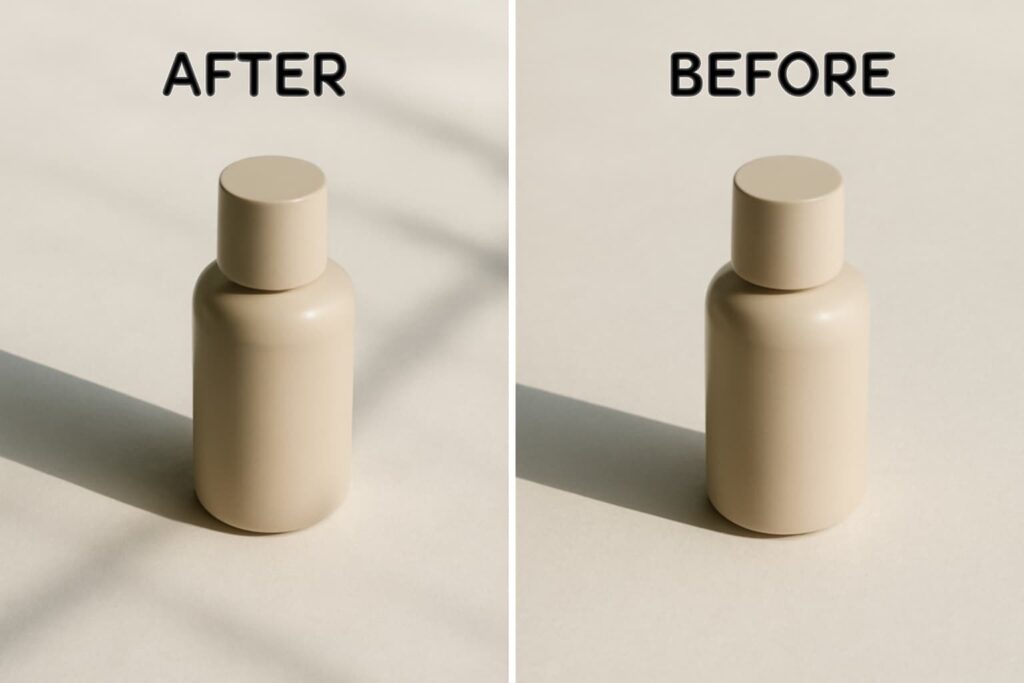
If your product photos look flat or fake, customers might question the quality of the product. But when your photos show the product in a natural way, with realistic shadows, it feels more like something they can touch and buy. For natural shadows creation service you need to hire a professional photo editor. For any photo editing service, you can contact us to get a free consultation or get a queue.
The Role of Product Photo Editing in Shadow Creation
Lighting is very important for making shadows look realistic, but picture editing can also make those shadows look better. After the photo shoot, you can adjust the intensity and direction of the shadows using editing tools like Adobe Photoshop. However, make sure the shadows still look natural after editing. The best results are achieved through a combination of good lighting and subtle post-production adjustments.
Conclusion
To make your product pictures look natural and professional, you need to make sure the shadows are real. You can take great pictures of your products if you know how light works and pay attention to things like light direction, surface texture, and edits.
If you’re using natural light or professional equipment, always aim to create shadows that match the product’s look and feel. If you use these tips, your product photos will look more real and appealing.
FAQ
1. Can I use Photoshop to adjust shadows in product photos?
Yes, Photoshop is a great tool for editing shadows. You can lighten or darken shadows and adjust their direction to make them look more natural.
2. Does the surface affect how the shadow looks?
Yes, the surface you use can change the shadow’s appearance. A smooth surface might create a reflection, while a textured surface adds depth to the shadow.
3. What is the best light for creating natural shadows?
Soft, diffused light is the best for creating natural shadows. If you don’t have professional lights, use natural light from a window or a lamp with a diffuser.
4. How do I avoid harsh shadows in product photography?
If you want to avoid harsh shadows, shoot your product with a reflector or in light that comes from the side. Putting your light source at a 45-degree angle can also help make the shadows less harsh.
5. Should I use a reflective surface for product photos?
Yes, a reflective surface like glass or a shiny table can add depth and interest to your shadows. It’s a good way to enhance the overall look of your photos.
6. What type of surface is best for product photography shadows?
Photos that look clean and professional look best on smooth, flat surfaces. But objects with texture, like wood or cloth, can make shadows look more natural and grounded.
7. How do I make sure my shadows are in the right place?
Position the light source at a 45-degree angle to your product and adjust it to see where the shadow falls. Experiment with different angles to find the most natural shadow placement.