

In today’s visual world, colours matter. The ability to recolour photos can transform plain images into stunning visuals. Recoloured photos can draw attention, spark emotions, and align perfectly with your brand aesthetics.
You don’t have to be a professional photographer. Even casual social media users can master photo recolouring. With the right photo colour-changing techniques, your creative possibilities are endless.
It’s not just about making images look pretty. Colour correction ensures your photos reflect real-life tones. It helps you set the exact mood you want to share.
In this comprehensive guide, we’ll help you explore these powerful tools. We’ll cover basic and advanced photo editing techniques. You’ll learn when and how to apply them effectively. If you are a beginner or a seasoned pro, these strategies will help you excel in your creative journey.
By the end, you’ll know how to pick the right method. Your next photo project will be more creative and professional than ever before. Let’s dive in and unlock your creative potential.
Why Photo Recolouring Matters
1. Emotional Impact & Mood
Colors evoke emotion. Warmer hues like reds and oranges create energy. Blues and greens soothe. Recoloring your images allows you to control viewer perception. It creates an emotional resonance that makes your visuals memorable.
2. Branding & Visual Unity
Consistent color profiles are essential for businesses and content creators. Fine-tuning image colors helps uphold brand identity across platforms. From Instagram grids to marketing materials, color unity builds trust and recognition.
3. Technical Accuracy
Even professional shots may suffer from incorrect white balance or underexposed tones. Color correction in your workflow ensures that the final images match what you envisioned at the shoot, guaranteeing professional, polished outcomes.
The Fundamentals of Photo Recoloring
By keeping the photo’s texture and brightness while adding new colors softly, recoloring it is like giving it a second chance at life. Not only does it bring back its visual depth, but it also opens up creative possibilities beyond the original catch. Here are tips:
1. Color Space & Models
RGB is ideal for web and digital media, while CMYK is the go-to for print, with ink limitations. Activating the correct colour profiles ensures accurate hues during recolouring and helps maintain colour consistency across various display mediums.
2. Hue, Saturation, Lightness (HSL)
These three attributes change how recolouring works: Hue alters the colour itself. Saturation adjusts purity or intensity. Lightness controls brightness. Mastering HSL adjustments unlocks endless creative possibilities.
3. Masks & Selections
Selective recoloring relies on precise masks. Use tools such as: Photoshop’s Select → Color Range. Lightroom’s brush & radial filters. GIMP’s Quick Mask. Each tool offers a unique approach to masking.
Pro Tip: Feather masks ~30–70px for smooth, natural transitions. This technique helps blend recoloured areas seamlessly into your image.
4. Color Theory Basics
Complementary palettes, like red and green, similar palettes, like blue, green, and yellow, and monochromatic palettes are all things you should know. These help you predict how recoloring choices impact the final look. A solid color theory foundation makes your edits harmonious and intentional.
Step-by-Step Photo Recoloring Techniques

Recoloring a photo is the art of turning black-and-white memories into colorful pictures of the past. By choosing the right colors, you can bring warmth, depth, and feeling back to memories that have faded. Here are the photo recoloring techniques:
1. One-Click Recolouring in Lightroom
- Import photo. Go to Develop.
- In the HSL/Color panel, choose the hue slider. Shift the slider to change colours globally.
- Combine with saturation and luminance adjustments for brightness and intensity.
Realistic data: Shifting a landscape’s greens from +20 to +40 hue can change alpine green to bright teal. This is ideal for stylized moods and creative edits.
2. Photoshop Color Replacement Tool
- Duplicate the background layer.
- Select the Color Replacement Tool (shortcut: B).
- Choose brush size ~10–20px and appropriate hardness.
- Alt-click to sample the original colour, then paint.
- Adjust Mode to Color or Hue for best results.
Pro Tip: Adjust brush tolerance to avoid recoloring outside your target area. Fine-tuning this setting ensures precision.
3. Selective Layer Recoloring with Masks
- Create a Hue/Saturation adjustment layer with a mask.
- Target specific hues like magentas or yellows.
- Fine-tune Lightness as needed.
- Optionally, duplicate the layer with different hue shifts to blend transitions.
This approach is perfect for fashion, product, and portrait photography.
4. Gradient Map Technique
- Add a Gradient Map adjustment layer.
- Map dark tones to one color, midtones to another, highlights to a third color.
- Adjust opacity or blend mode (Soft Light, Overlay) to harmonize the effect.
Use case: Metallic tints (gold, cyan) or vintage color grading. This method creates unique, stylized looks that stand out.
Advanced Tips & Real-World Scenarios
1. Cinematic LUTs
- Use Lookup Tables (LUTs) to apply a color theme globally.
- Popular styles include bright teal and orange or desaturated greens.
These work well for both videos and still images. LUTs streamline your workflow and maintain consistent looks across projects.
2. Color Matching
- For multi-angled shots, like product photography, use Match Color.
- Alternatively, manually adjust hues across shots for visual continuity.
Consistency across your brand’s visuals enhances professionalism and audience trust.
3. Accessibility-Aware Recoloring
- Ensure adequate contrast. For UI overlays on images, aim for WCAG AA standards (4.5:1).
- Choose distinguishable colour shifts. Make reds appear more orange–pink for colour-blind viewers.
This makes your content more inclusive and accessible to a broader audience.
4. Recoloring Text Elements
- Sometimes, images contain brands or UI elements needing consistent color.
- Use shape or selection layers in Photoshop. Recolor non-destructively.
This preserves image quality and makes future edits easier.
Choosing the Right Tools for Photo Recoloring
When it comes to photo recoloring, you have many tools to choose from. Each tool fits different user needs.
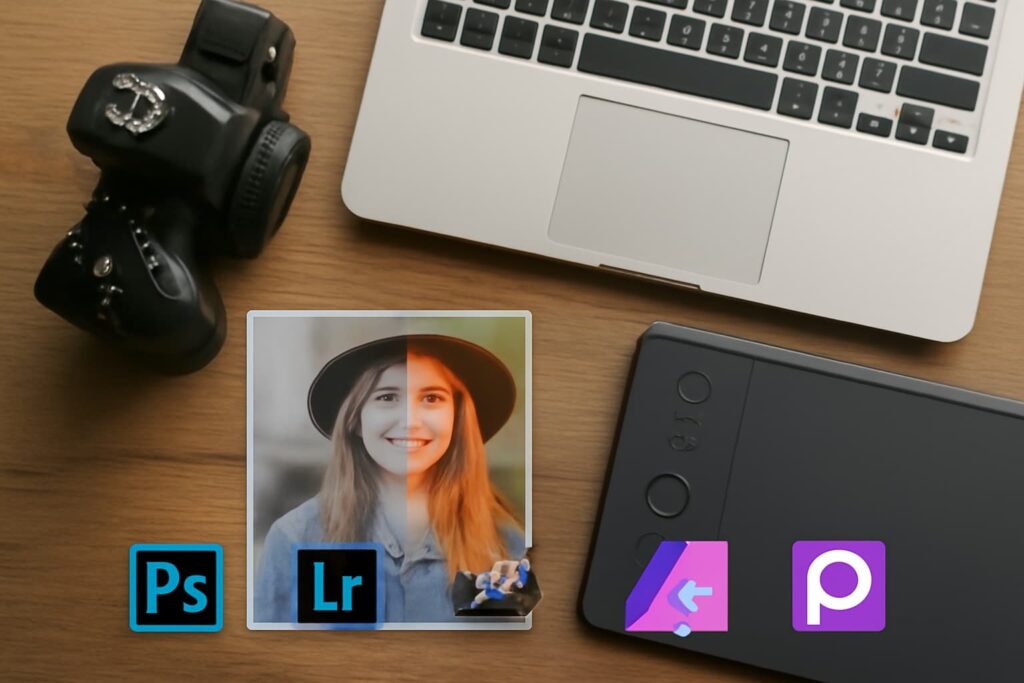
1. Adobe Photoshop CC
It is the industry standard. It offers precise, layered recoloring. Professionals love it for advanced editing control. Photoshop remains unmatched for detailed, pixel-level adjustments.
2. Adobe Lightroom
It’s perfect for quick global edits. It also works well for selective color changes. Lightroom’s HSL panels are simple to use. Its presets save time. This makes it ideal for photographers editing large batches of images efficiently.
3. GIMP
Looking for a free tool? Try GIMP. It’s open-source and powerful. But, it has a steeper learning curve. Beginners may take longer to master it compared to Adobe products. However, it remains one of the best free tools available.
4. Affinity Photo
Affinity Photo is another smart choice. It’s a one-time purchase tool. You get pro-level features without a subscription. It’s fast and budget-friendly. A great alternative for those who want powerful features at a lower cost.
5. Snapseed and PicsArt
Want to edit on the go? Apps like Snapseed and PicsArt are great. They have easy filters and tools. Perfect for creating quick, colorful social media content. These apps are ideal for casual creators and influencers.
Expert tip: Pros often use multiple tools. They use Lightroom for colour workflows. Then, they fine-tune details in Photoshop.
If you’re new or on a tight budget, start with GIMP. It’s free but still powerful. You’ll be surprised by what you can achieve without spending a penny.
Addressing Common Recolouring Challenges
1. Color Banding: Colour banding occurs in posters or gradients with limited bit depth.
Solution: Add subtle noise (1–2%) or work in 16-bit mode. This reduces visible colour steps and creates smoother gradients.
2. Maintaining Image Quality: Avoid oversaturation or extreme hue shifts. Use adjustment layers with lower opacity (<70%). This keeps your edits natural and professional.
3. Non-Destructive Workflow: Always work on duplicates. Use masks and smart objects. Save edits in PSD or XMP formats to preserve layers and adjustments. This ensures you can revisit and tweak your edits later.
Mastering Photo Recoloring: Your Next Steps
You can be more creative if you learn how to recolor photos. With pictures, you can change the way your stories look and make an even bigger effect.
Want to improve the look of your brand? Photo recolouring can help. Want to explore art in new ways? It’s perfect for that, too.
First, learn when to use global color changes. Then, know when to use selective edits. Both are important and have their place. Also, I need to understand the basics of color theory. This helps you make smart, intentional color choices.
Start practicing today. Use HSL controls in Lightroom. Pick two images with different tones. Adjust the hue and saturation. See how the mood of the image changes dramatically.
Next, try Photoshop. Use the Gradient Map tool to create bold, cinematic colour styles. Your photos will have a polished, professional feel that draws attention.
On a tight budget? Use GIMP. It’s free. Yet, it offers powerful recolouring features.
Conclusion
These photo editing techniques will help your images stand out and look more professional. They are ready to be shared on social media, printed in marketing materials, or delivered to your clients.
Photo recoloring is more than a simple edit. It’s a way to control how your audience feels when they see your work. With practice and the right tools, your creative possibilities are limitless. Start your photo recoloring journey today.